How to Setup the Transactions (zipForm Edition) and Outlook Calendar Sync
Transactions (zipForm Edition) can now be seamlessly connected to Outlook. Now all of the Events you have in Transactions (zipForm Edition) can be automatically added and updated in your Outlook account. Creating a convenient back up of all your Events that is always available even on a mobile device. Making it easier to send texts, make calls or fire off emails without having to go search for their contact info.
Save yourself time, get rid of redundant data entry and always have the freshest contact info at hand.
1. Making the Connection
2. Configuring the Connection
3. Launch!
1. Making the Connection
Click the “Partners” link in the dashboard header of Transactions (zipForm Edition)

Scroll on down to locate the Outlook Calendar tile and click “Link Account”
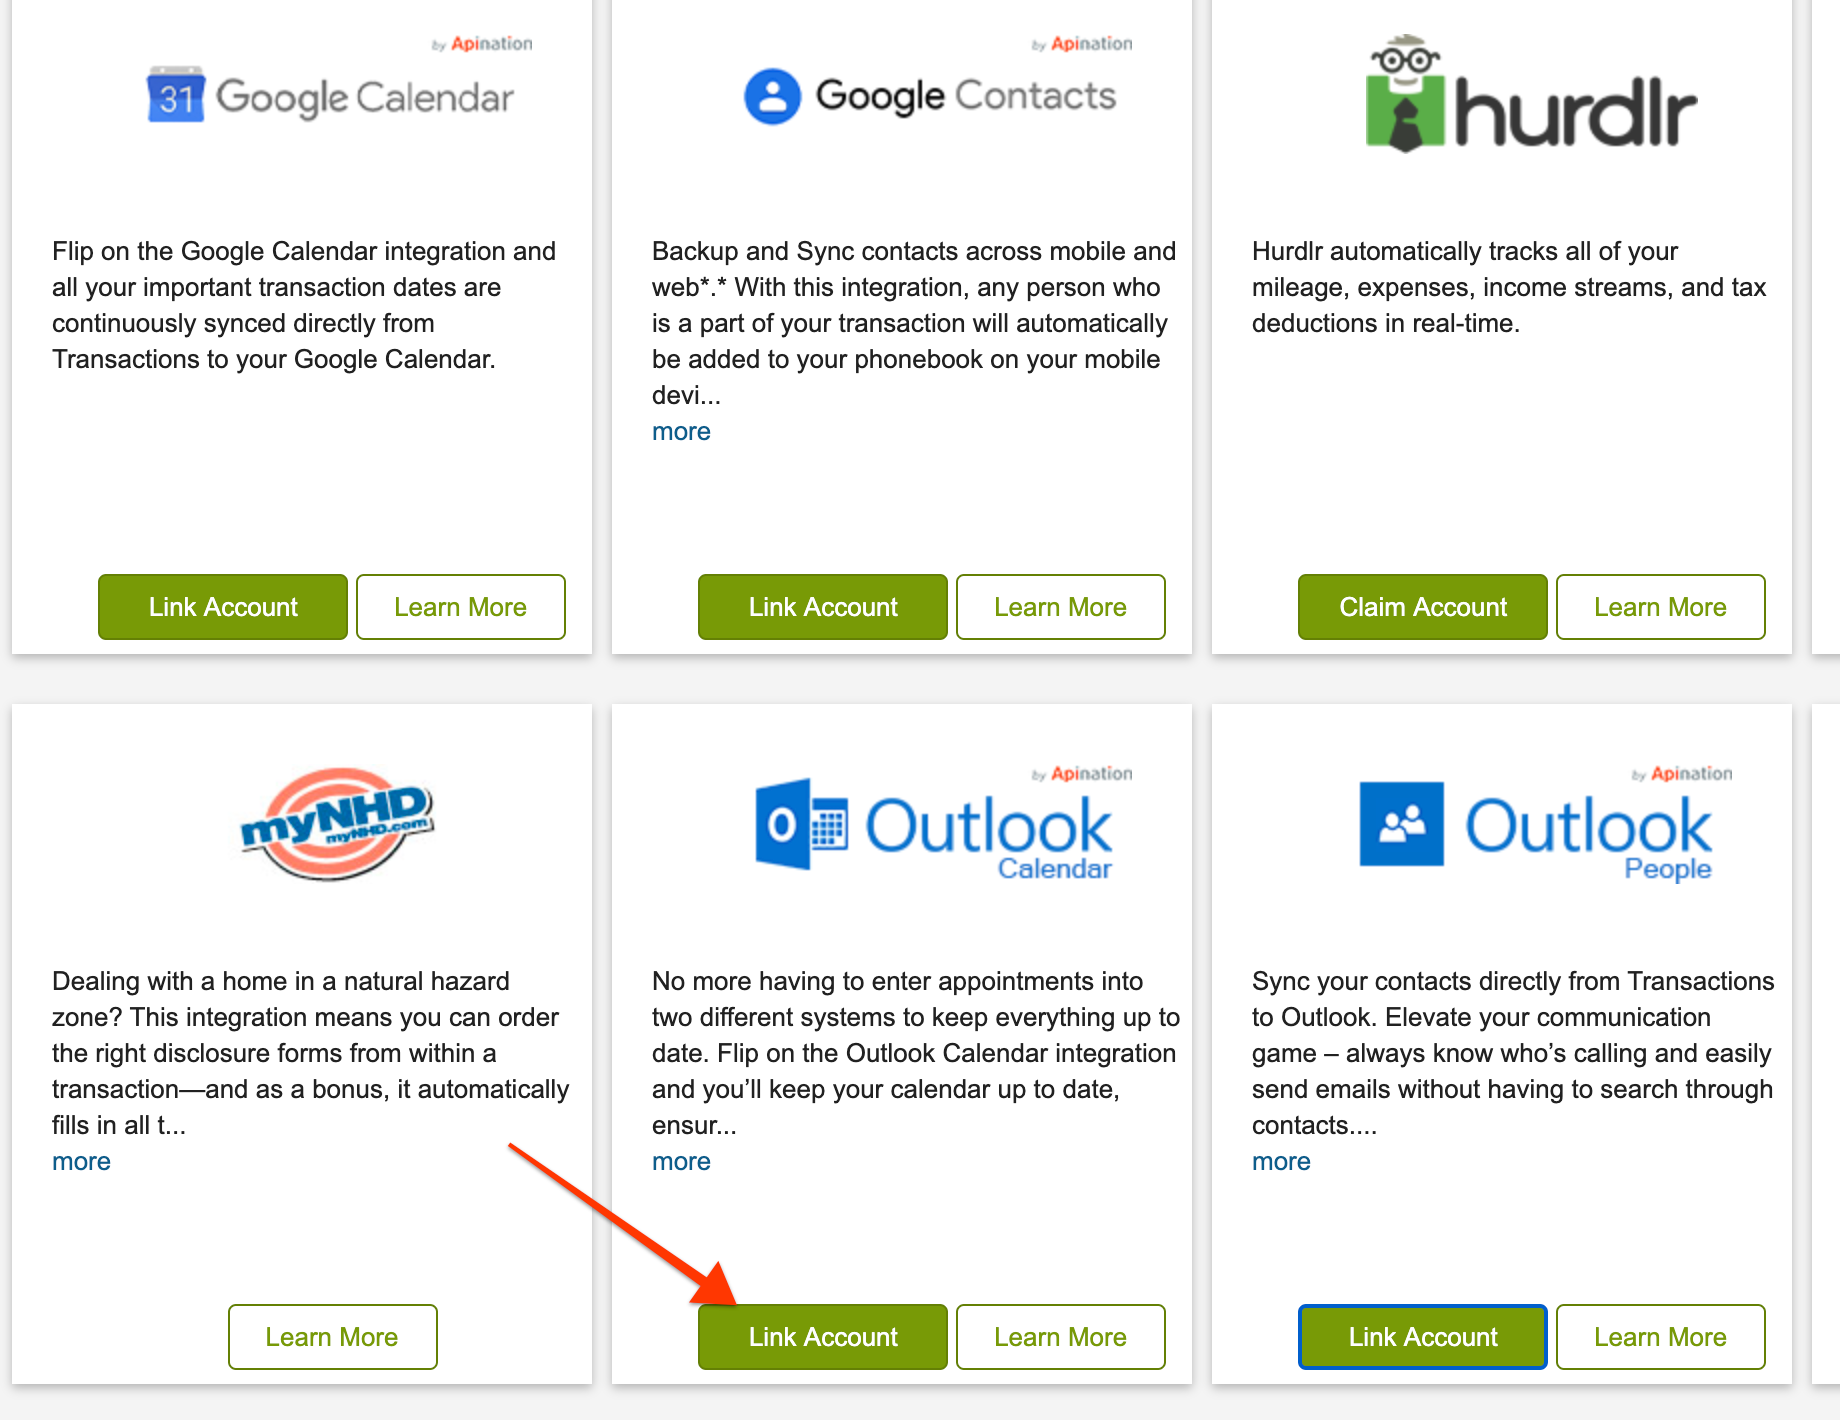
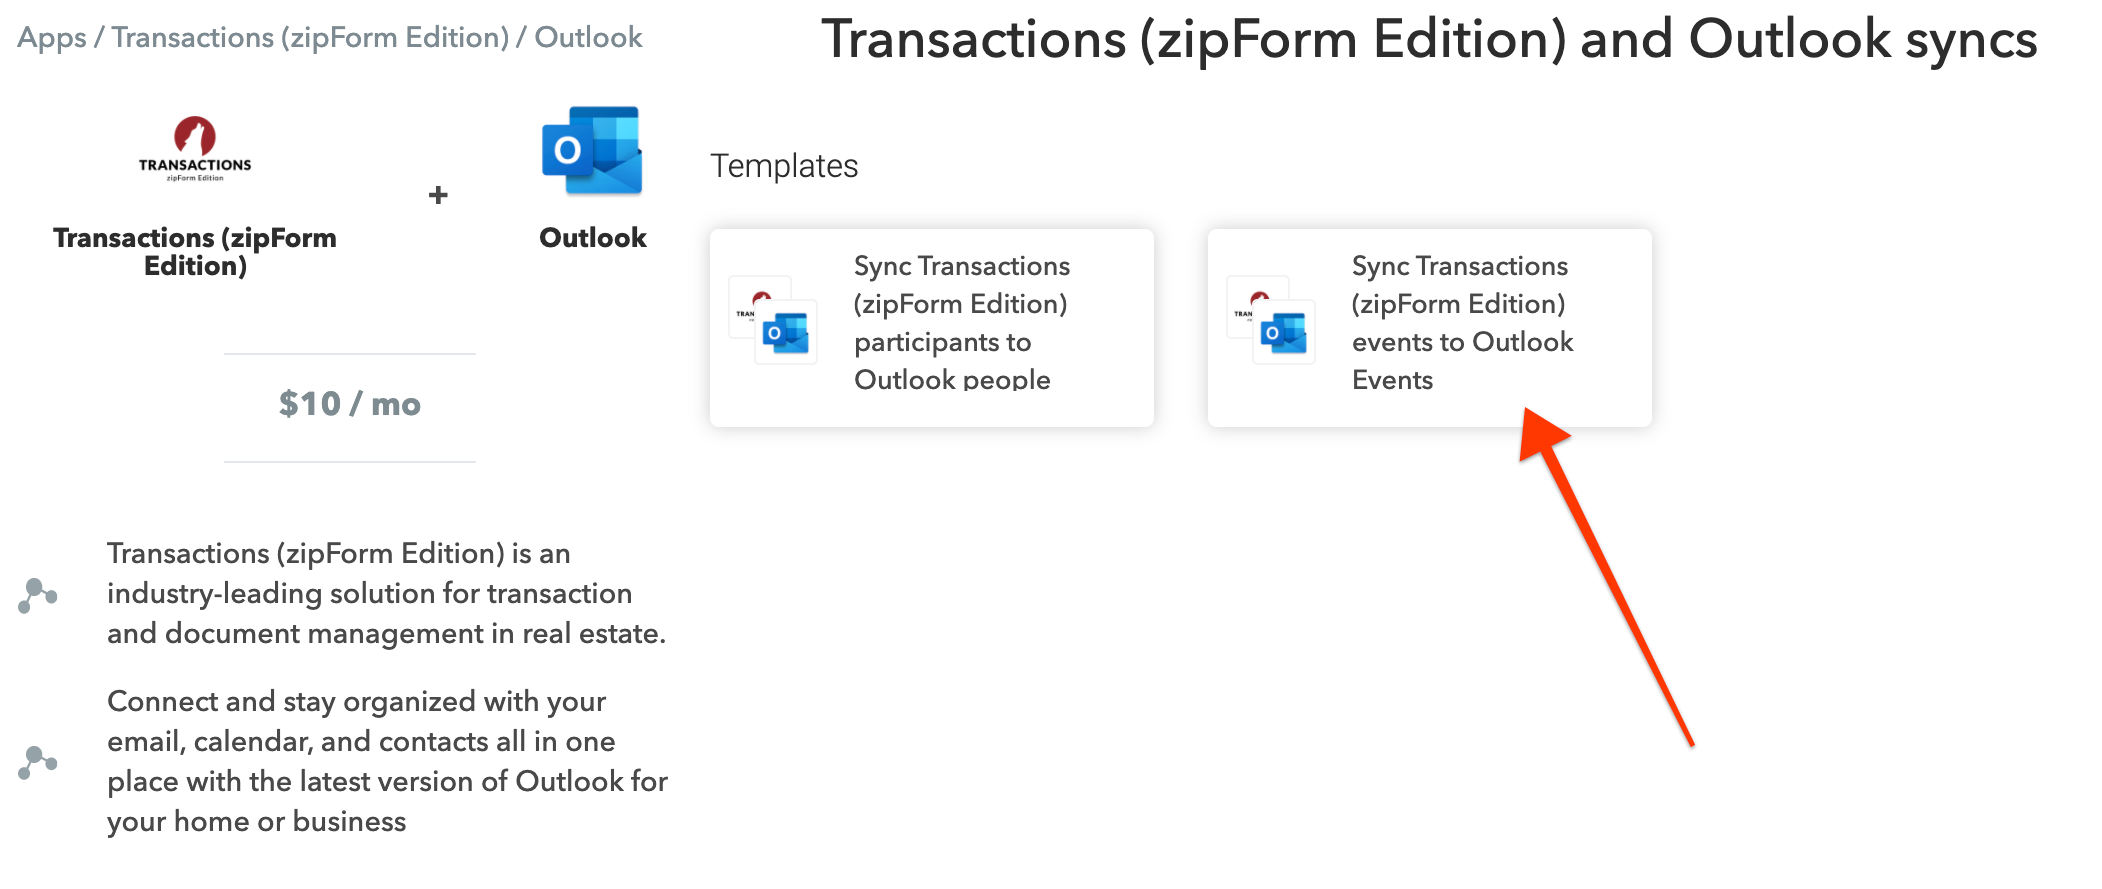
This will take you to API Nation to begin the connection. You will see the template to create your automated workflow sending and updating events from Transactions (zipForm Edition) to Outlook Calendar.
Click the template titled: Sync Transactions (zipForm Edition) events to Outlook Events
To create the connections needed for the sync, first sign into Transactions (zipForm Edition)
If you don’t remember your login info for Transactions (zipForm Edition) you can quickly reset your password by following these steps
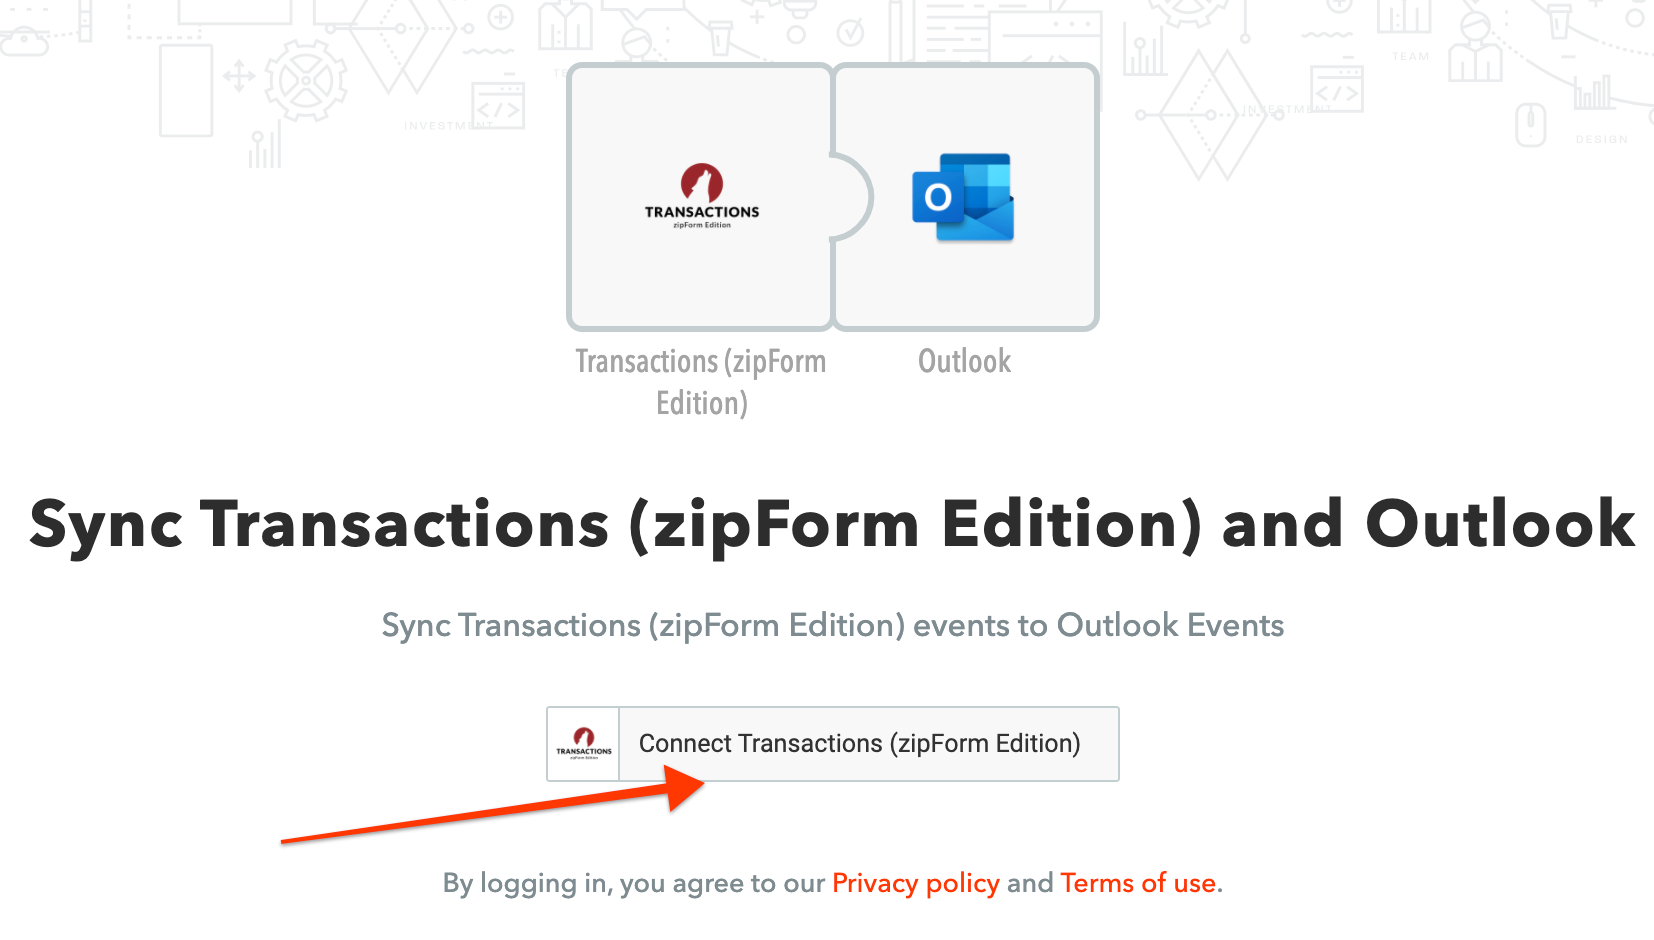
Just by signing into Transactions (zipForm Edition) you’ll have made the connection. Now let’s connect Outlook Calendar.
Click the Connect Outlook Calendar button
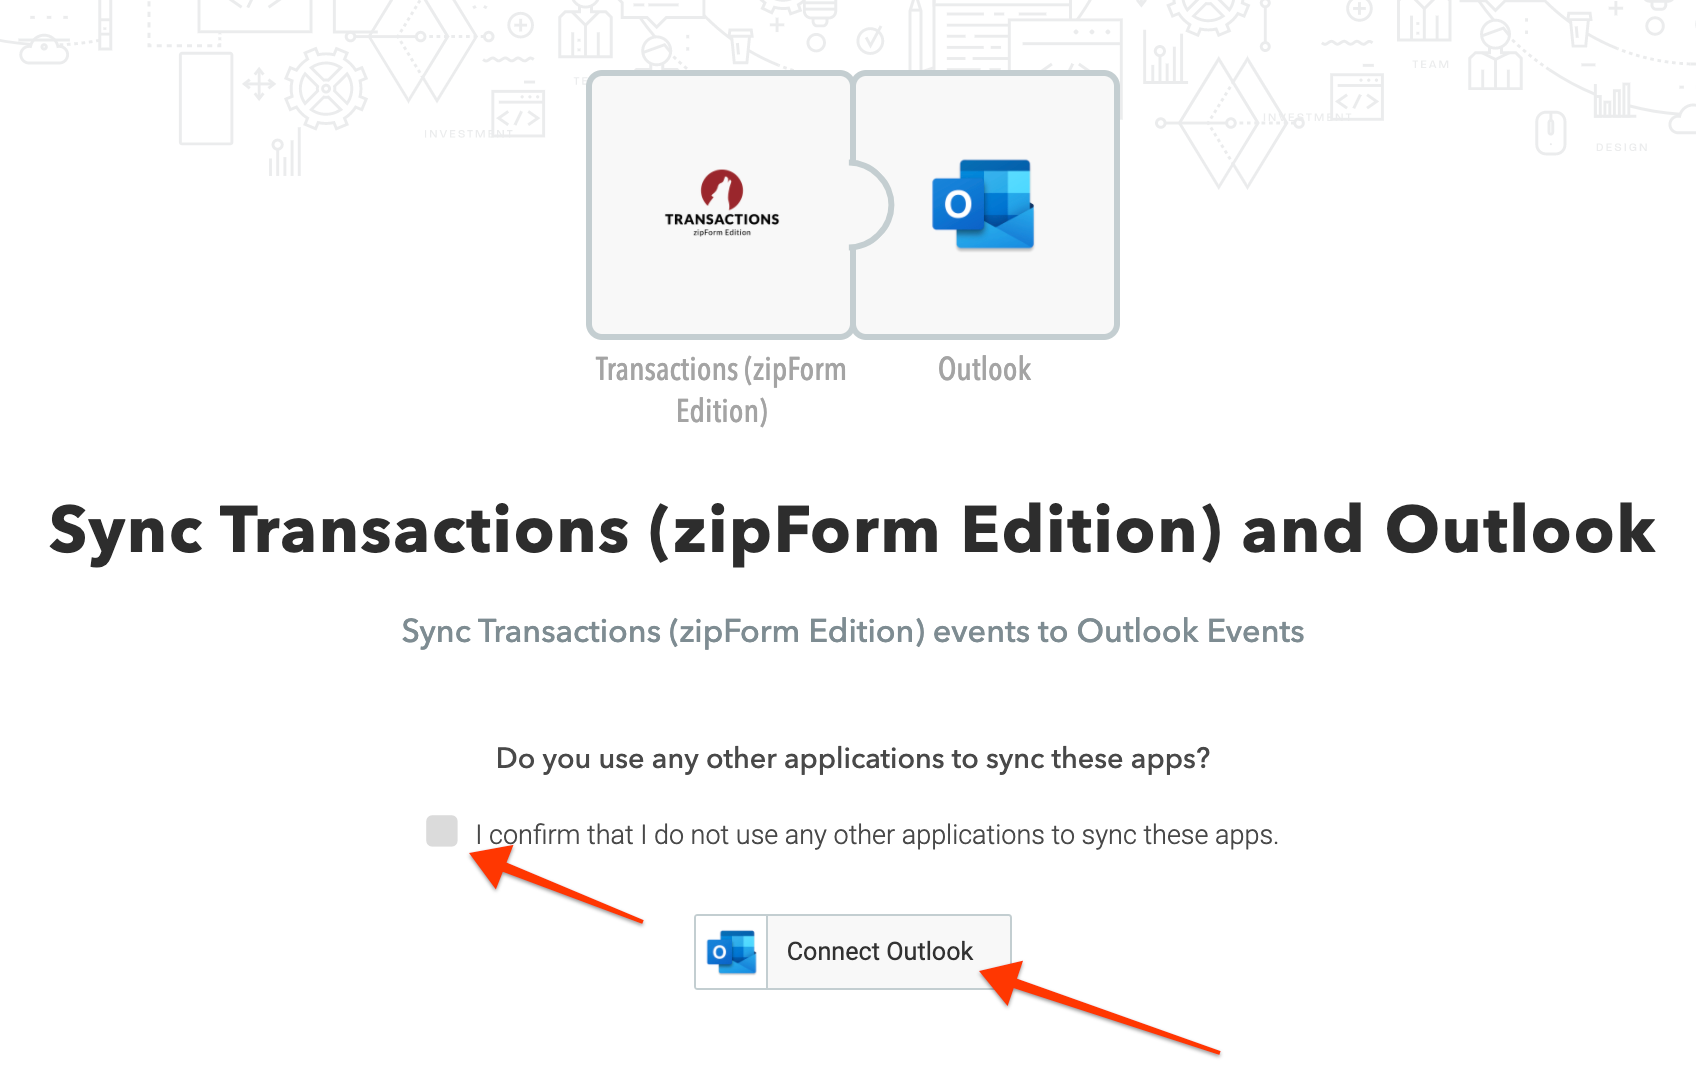
And sign into your Outlook Calendar account
That’s it. The connection is made, now we just need to configure and launch!
2. Configuring the Transactions (zipForm Edition) and Outlook Calendar Connection
The connection is ready to go. If you’d like to configure it however you can change the following:
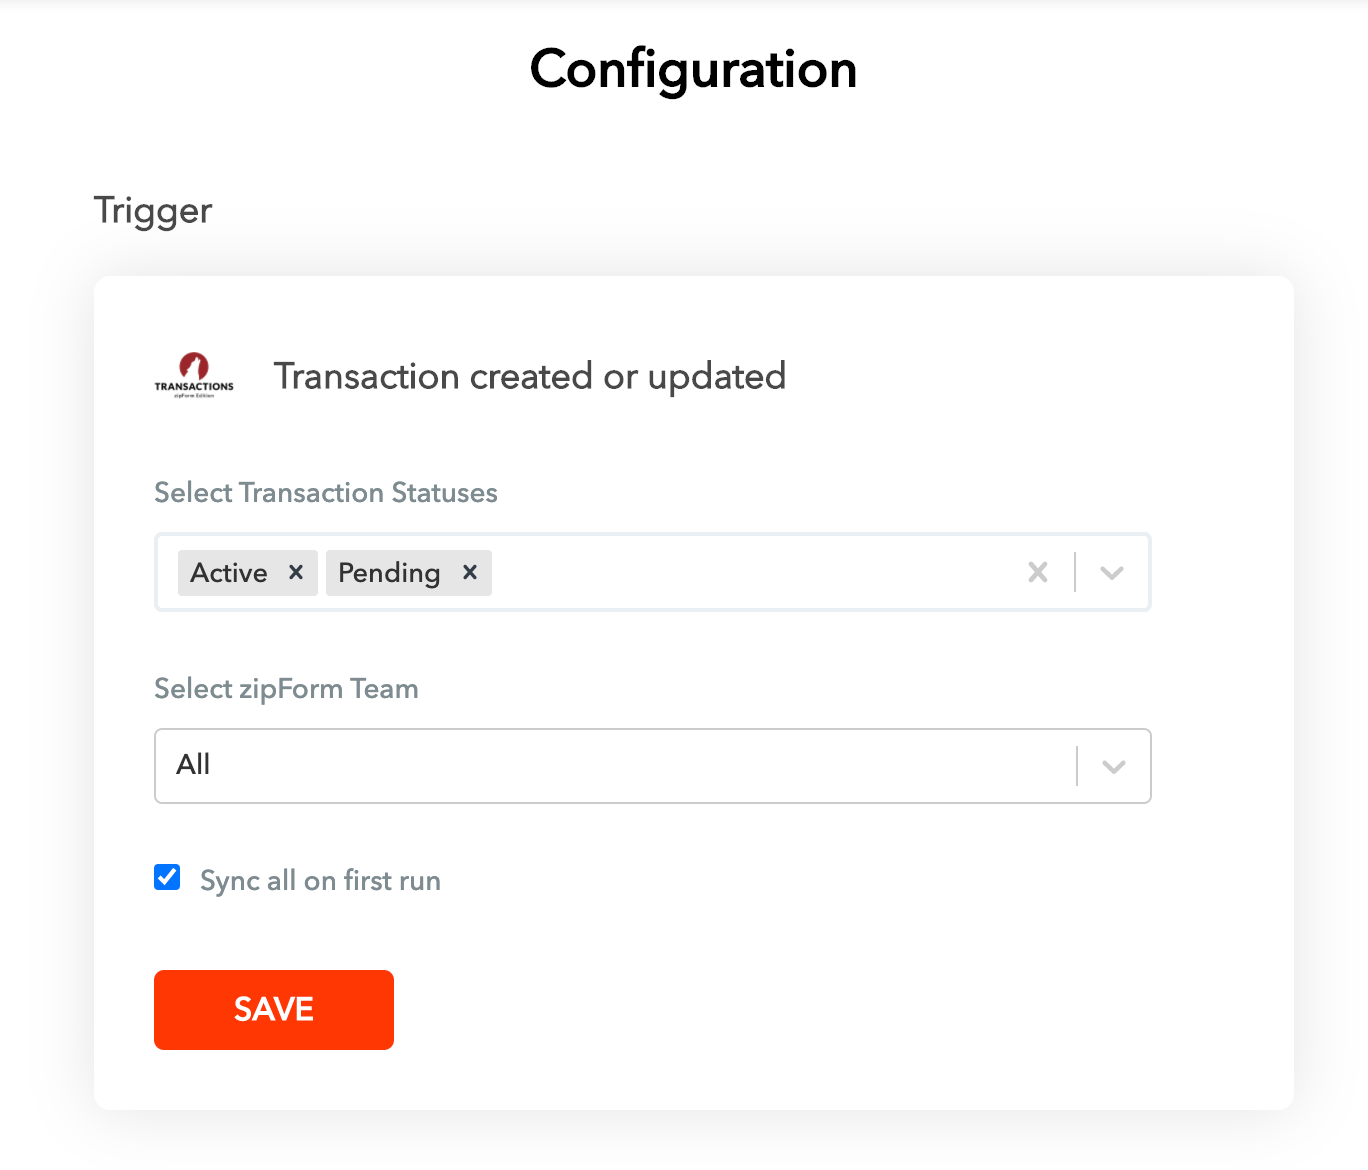
Under Trigger, you can choose to limit the sync of Events to those involved with Transactions of a particular status, such as Active or Pending. You can also change this to All, so that all the Events you have in Transactions (zipForms Editions) will be synced to Outlook Calendar.
You can also choose to only send Events from a particular team in zipForm or All the teams in zipForms.
You can also choose to sync the Events you’ve already added to Transactions (zipForm Edition) by checking the “Sync all on first run” box. Otherwise the connection will only sync Events you add or update from today going forward.
After you make your choices be sure to click Save.
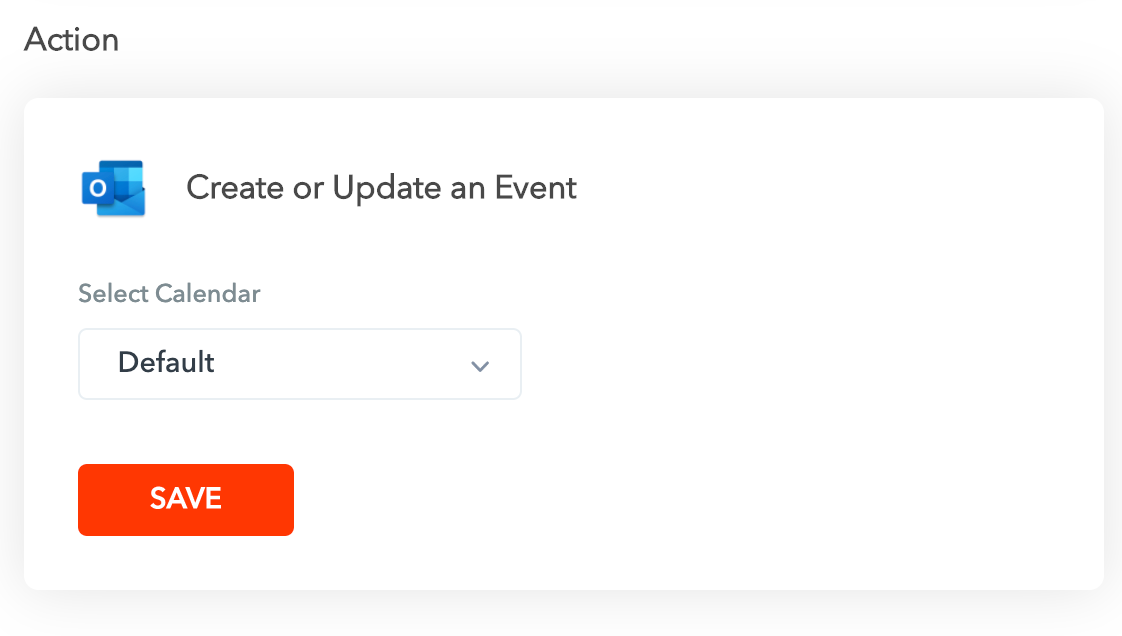
Under Action you can specify which Calendar you would like the new Outlook Calendar synced to, or create a new Calendar.
After you make your choice be sure to click Save.
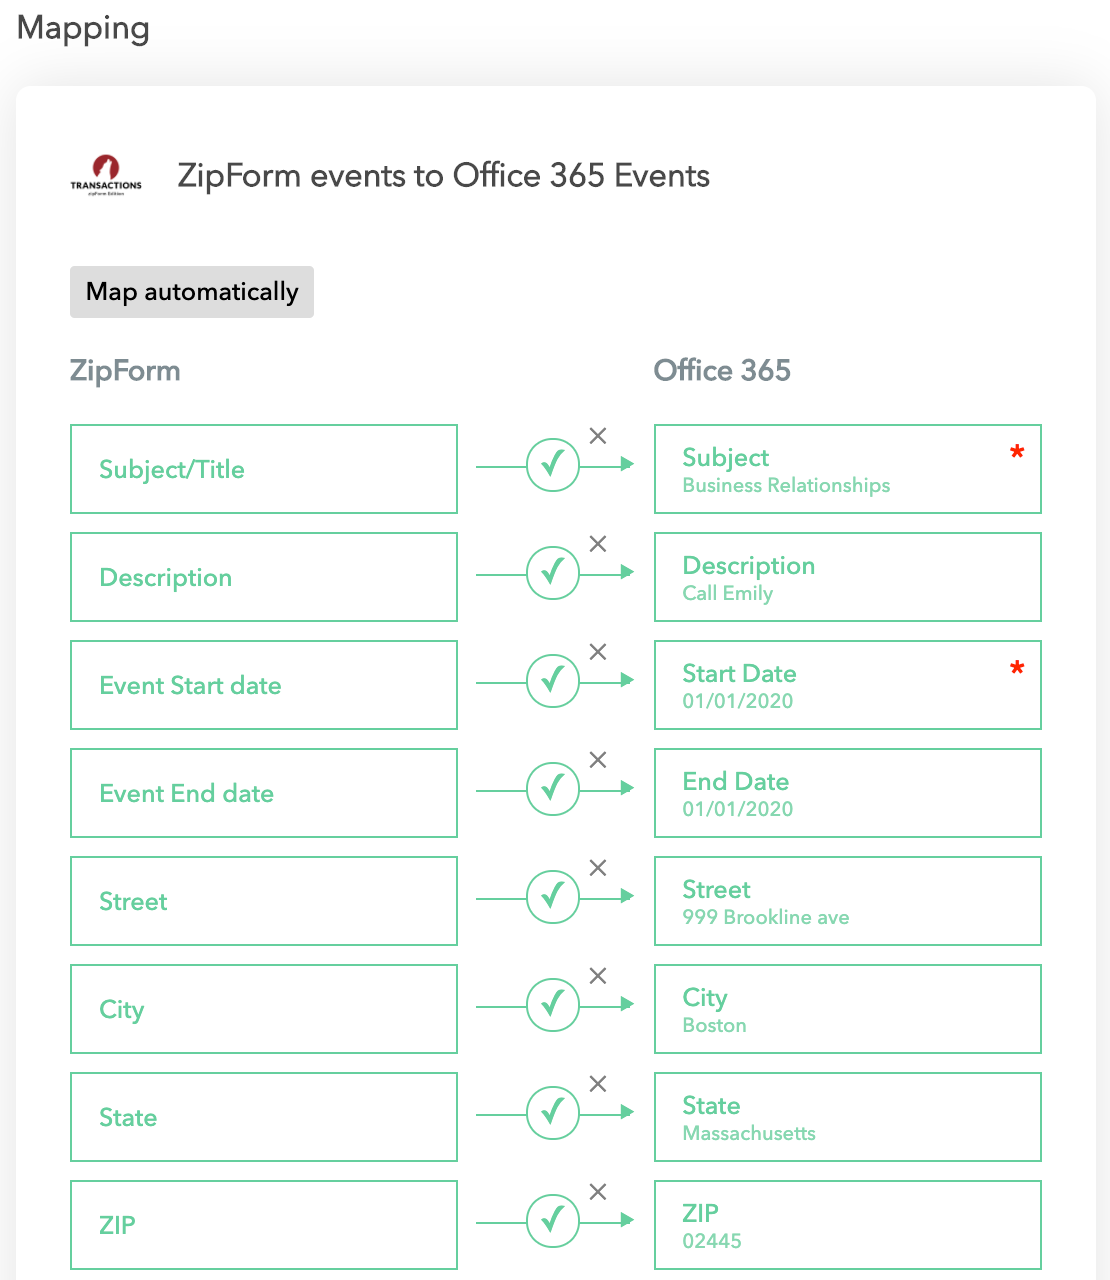
Finally you can specify the mapping of the data from Transactions (zipForm Edition) to Outlook Calendar. API Nation automatically maps most fields, though if there is a special set up you’d like to implement here just click the box on the left with the corresponding box on the right.
Click Save after you’ve made your choices
3. Launching the Transactions (zipForm Edition) and Outlook Calendar Connection
Now that everything is configured how you’d like, just click Start near to the top of the screen to launch the Sync.
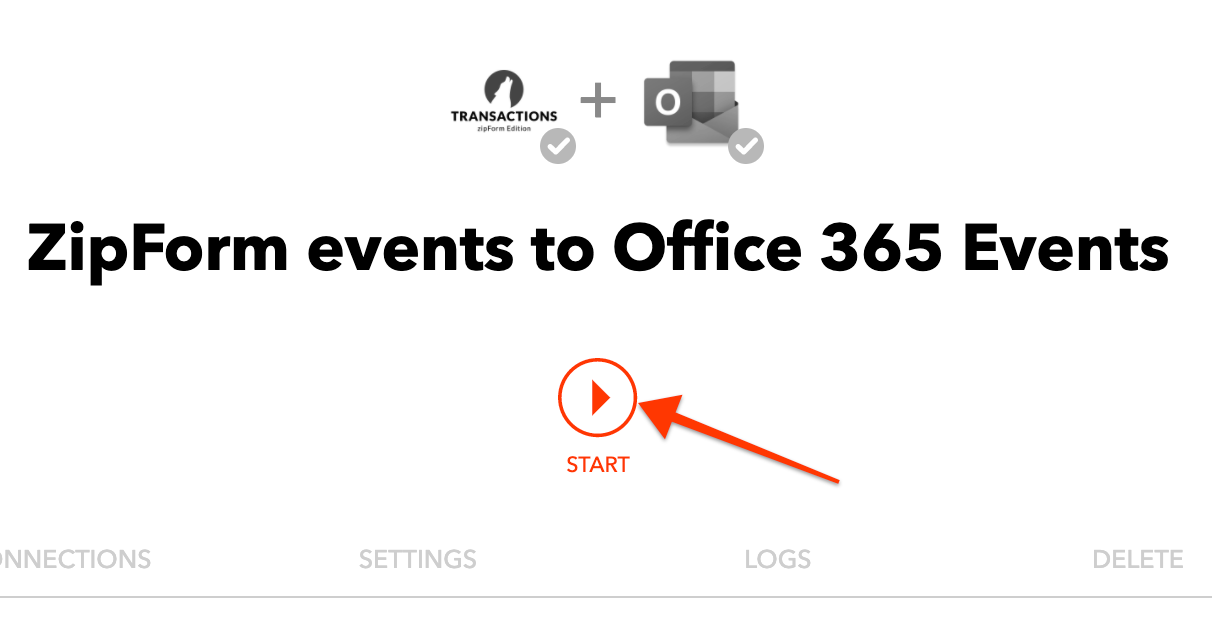
If this is your first Sync with API Nation, a payment pop-up will appear to record your payment information to start your subscription.
The integration will run every 15 minutes, checking Transactions (zipForm Edition) for new or updated Events to send to Outlook Calendar, automatically creating and maintaining your Events so your schedule is always up to date and you neve miss an appointment again.
That’s it! You’re all set. Now your Outlook calendar is synced up to your Transactions (zipForm Edition) dates and tasks. You and your team now have greater visibility and can make sure everything is done on time, every time.
If you have any questions or need any assistance with the Sync or Subscription, we are available here

